
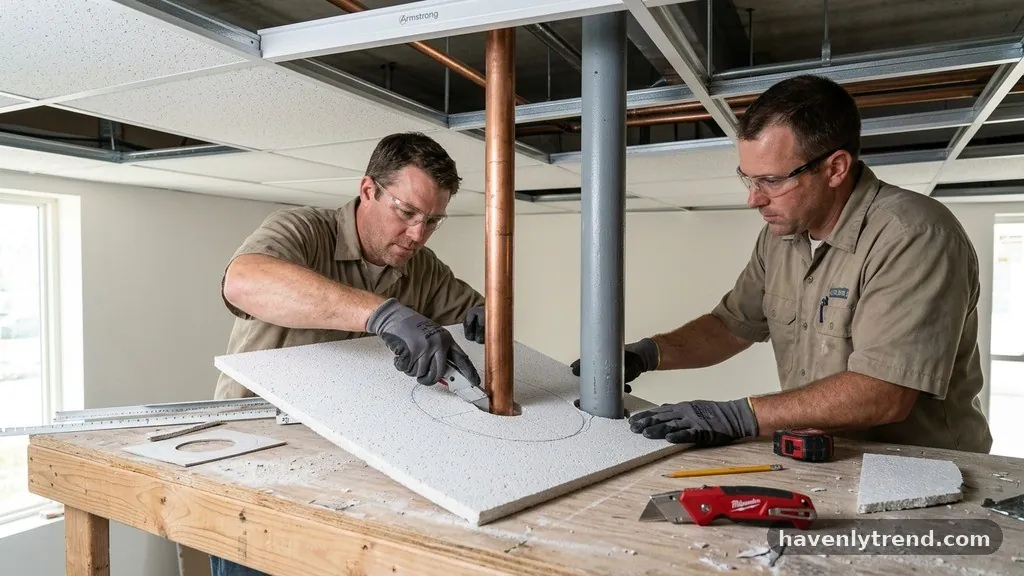
How to Cut Ceiling Tiles Around Round Plumbing Pipes and Support Poles
Learning the nuances of cutting ceiling tiles around round plumbing pipes and support poles is a common challenge for both DIY enthusiasts and professional installers. Achieving a professional finish requires precise measurements and the right approach to layout to ensure your ceiling looks uniform rather than cluttered with gaps.
You will gain a clear understanding of the tools, techniques, and safety measures necessary to handle these circular obstructions without ruining your materials. By following a structured method, you can transform a complex obstacle into a clean, finished detail that blends naturally into the rest of your drop ceiling grid.
Precision measurement techniques
The most important step when you are cutting ceiling tiles around round plumbing pipes and support poles is to transfer the exact dimensions of the obstruction onto your tile. Begin by measuring the distance from the nearest wall or grid tee to the center of the pipe or pole. Use a framing square to ensure your measurements are perpendicular to the existing grid lines.
Once you have the center point, mark it clearly on the face of the tile using a pencil. If the pipe is positioned near the edge of a tile, you must account for the thickness of the grid itself to prevent a skewed fit.
After marking the center, use a compass to draw a circle that matches the diameter of the obstruction. If you do not have a compass, you can create a simple trammel using a small piece of wood or a rigid strip of cardboard with a nail at one end and a pencil at the other.
It is vital to add a small amount of clearance, typically about 1/8 of an inch, to the diameter of your circle to allow for easier installation. This slight gap will be hidden by an escutcheon plate or a decorative collar later, so do not worry about the gap being visible.
Tools required for clean results
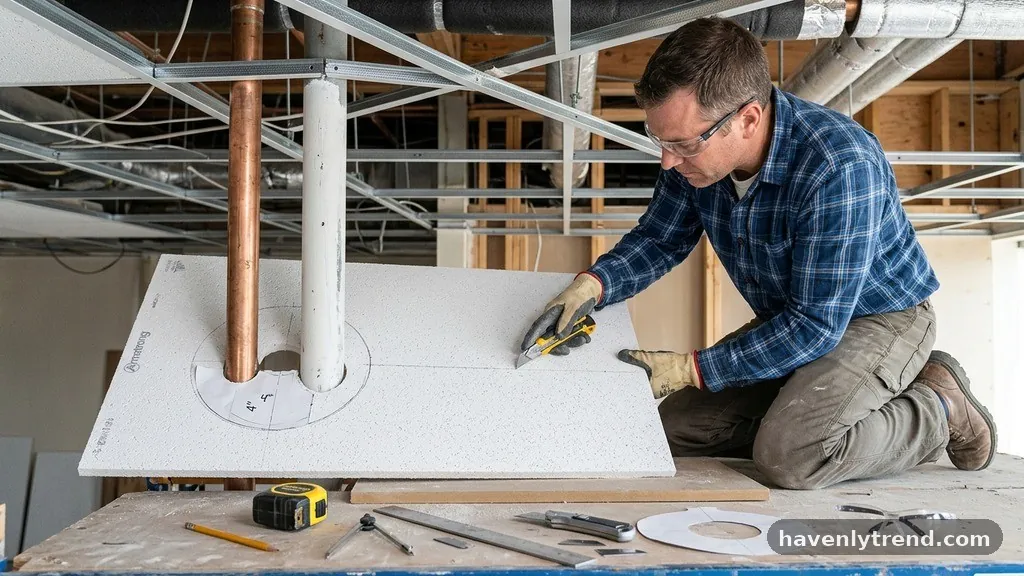
You will need a specific set of tools to ensure your cuts are clean and the edges do not fray or tear. A sharp utility knife with fresh blades is essential for standard mineral fiber tiles, as a dull blade will drag and cause ragged edges.
For thicker or denser tiles, a keyhole saw or a fine-toothed coping saw works best to navigate the curved path. If you are working with PVC or metal-faced tiles, you may need a pair of aviation snips to maintain a smooth, clean edge without bending the material.
A measuring tape, a T-square, and a sharp pencil are the foundational tools for marking your lines accurately. You might also consider using a hole saw attachment for a drill if you have many identical pipes to navigate, as it provides a perfect circle every time.
Always keep a sanding block or a piece of fine-grit sandpaper nearby to smooth out any rough edges after you finish cutting. This extra step ensures that the tile sits flush against the pipe and looks uniform from every angle in the room.
The split-tile installation method
When a pipe or pole is located in the middle of a tile, you cannot slide the tile into place without creating a seam. To solve this, you should cut the tile in half directly through the center of the circle you have drawn.
By splitting the tile, you can place the two halves around the pipe individually and slide them together on the grid. This method is standard practice for professional installers and ensures the structural integrity of the ceiling remains intact.
Once you have cut the tile into two pieces, you can secure them using a small amount of adhesive or specialized ceiling clips. If the cut is clean, the seam will be barely noticeable, especially if you position the seam to run away from the main line of sight.
Some installers prefer to paint the raw edges of the cut with a touch-up color that matches the tile, which helps hide the seam entirely. This technique is highly effective for support poles that are too large to be bypassed using standard grid adjustments.
Managing obstructions near tile edges
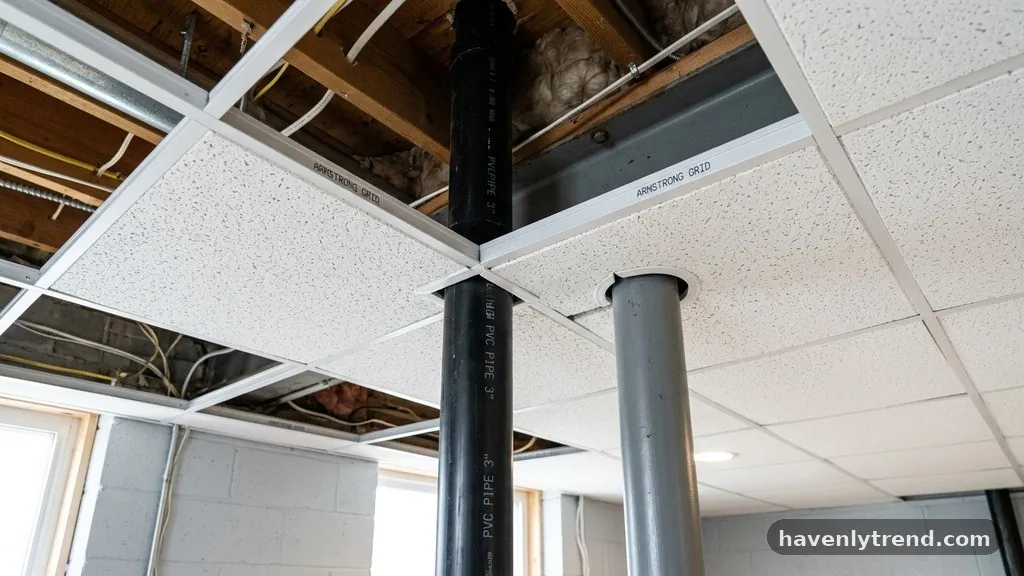
When a pipe or pole sits exactly on the edge of a tile, you have to approach the cut differently to maintain the stability of the grid. You should cut a semi-circle into the edge of the tile so that when two adjacent tiles are installed, they form a complete circle around the obstruction.
This requires careful coordination between the two pieces to ensure the radii align perfectly. If you are off by even a fraction of an inch, the gap will look uneven and draw unwanted attention to the pipe.
Before you make any cuts, place the tiles on a flat, stable surface to ensure they do not shift while you are working. Use a piece of masking tape to hold the tiles in place if they are prone to slipping during the cutting process.
You can also use the National Research Council guidelines for interior building materials if you are concerned about the fire rating or structural integrity of your ceiling system. Always double-check your alignment before committing to a final cut, as tile material can be expensive to replace if a mistake is made.
Selecting the right cutting technique
The type of material you are working with dictates the cutting technique you should employ to avoid damage. Mineral fiber tiles are porous and can crumble if you apply too much pressure with a saw, so a delicate hand is required.
For these tiles, it is often better to score the circle repeatedly with a utility knife rather than trying to cut through in one pass. This method prevents the surface finish from chipping or peeling away from the core of the tile.
If you are working with plastic or metal-faced tiles, these materials are much more resilient but require different tools to avoid sharp, jagged edges. A jigsaw equipped with a fine-tooth blade is excellent for these materials, provided you move slowly to prevent the heat from melting the plastic. Use the following table to help you decide which tool is best for your specific ceiling tile material.
| Tile Material | Best Cutting Tool | Finishing Tip |
|---|---|---|
| Mineral Fiber | Utility Knife | Sand edges lightly |
| PVC/Plastic | Jigsaw or Snips | File for smoothness |
| Metal Faced | Aviation Snips | Deburr with a file |
| Fiberglass | Fine-tooth Saw | Use a sharp blade |
Safety precautions for the job

Working with ceiling tiles often involves standing on a ladder or scaffolding for extended periods, which introduces significant safety risks. Always ensure your ladder is on level ground and is fully locked before you begin any cutting work.
It is also important to wear safety glasses, as small particles of ceiling material can fall into your eyes while you are drilling or cutting above your head. If you are cutting fiberglass tiles, wear a dust mask to avoid inhaling the fine fibers released during the process.
Keep your workspace tidy and free of off-cuts and debris to prevent tripping hazards. If you are using power tools like a jigsaw, ensure the cord is kept away from the blade and that you are not standing in a way that could cause you to lose your balance.
Taking your time is the best safety measure you can implement. Rushed work leads to mistakes, and mistakes lead to injuries or the need to buy replacement tiles, so stay focused on the task at hand.
Aesthetic finishing and concealment
Once you have successfully cut the tiles, the final step is to make the installation look intentional and clean. Most plumbing pipes and support poles look better when they are finished with a decorative collar or an escutcheon plate.
These accessories are designed to snap around the pipe and cover the gap between the pipe and the ceiling tile. They come in various finishes, such as white, chrome, or brushed nickel, allowing you to match them to the rest of the room’s decor.
If you are unable to find a collar that fits, you can use a small bead of caulk that matches the color of your ceiling tile to fill the gap. Apply the caulk carefully using a small applicator to ensure a smooth, uniform line.
A clean finish not only looks better but also helps prevent air drafts from moving through the ceiling cavity. This attention to detail is what separates a standard DIY job from a professional-looking installation that adds value to your space.
Common mistakes to avoid

One of the most common errors when cutting tiles is failing to measure the thickness of the grid itself. The grid takes up space, and if you measure from the center of the grid tee instead of the edge, your hole will be misaligned.
Always measure from the actual edge of the grid where the tile will rest, not from the center point of the rail. Another common mistake is cutting the hole too large, which makes it impossible to cover the gap with an escutcheon plate.
It is also a mistake to try to cut the tile while it is already installed in the grid. Always remove the tile from the ceiling, place it on a clean, flat surface, and perform your cutting work there.
Attempting to cut a tile while it is hanging can lead to bent grid components and uneven, sloppy cuts that are difficult to fix. By taking the time to remove the tile, mark it, and cut it on a workbench, you ensure the highest quality results for your ceiling project.
Working with multiple obstructions
If you are dealing with a section of the ceiling that contains multiple pipes or poles, you need to create a layout plan before you start cutting. Map out the location of every obstruction on a piece of graph paper to see how they relate to the grid layout.
Sometimes, shifting the entire ceiling grid by a few inches can eliminate the need to cut tiles around a pipe entirely. This is known as “centering” the ceiling, and it is a preferred technique for many professional installers.
When you cannot avoid the pipes, use a template to ensure consistency across all tiles. Create a cardboard circle that matches the size of your pipe and use it to trace your lines on every tile that requires a cut.
This ensures that every hole is perfectly sized and positioned, which makes the entire ceiling look cohesive. If you are working with a support pole that is slightly wider at the base, make sure to measure the widest point to ensure the tile will slide over it without getting stuck.
FAQ
What is the easiest way to mark a perfect circle on a ceiling tile?
The most reliable method is to use a compass or a simple trammel bar made from a strip of wood. Measure the exact center point on the tile, place the point of the compass there, and rotate it to draw your circle. If you are nervous about accuracy, you can cut a template out of scrap cardboard first to test the fit against the pipe.
Can I use a hole saw on mineral fiber ceiling tiles?
Yes, a hole saw works very well on most ceiling tiles, provided you use it at a low speed. High speeds can cause the tile material to tear or fray, leading to an ugly edge. Always support the back of the tile with a piece of scrap wood to prevent the hole saw from “blowing out” the back of the tile as it exits the material.
How do I hide the gap if my cut is not perfectly round?
A decorative escutcheon plate is the best way to cover any imperfections in your cut. If a plate is not an option, you can use a high-quality, paintable caulk to fill the gap between the pipe and the tile. Once the caulk is dry, touch it up with a small amount of ceiling paint to make the repair virtually invisible to the naked eye.
Is it necessary to remove the tile from the grid before cutting?
Yes, it is highly recommended to remove the tile before you begin cutting. Cutting in place is dangerous, difficult to control, and almost guarantees that you will damage the grid or the surrounding tiles. Working on a flat surface allows you to apply consistent pressure and achieve much cleaner lines.
What should I do if the pipe is not perfectly vertical?
If a pipe is leaning, you must measure the hole at the widest point of the obstruction to ensure the tile can slide past it. You may need to cut a slightly larger hole or create an oval shape to accommodate the tilt of the pipe. Once the tile is in place, you can use a flexible silicone sealant to bridge the gap created by the angle of the pipe.
Final thoughts on ceiling tile installation
Successfully cutting ceiling tiles around round plumbing pipes and support poles is all about planning and patience. By measuring carefully, using the right tools for your specific material, and taking the time to finish your edges, you can achieve a result that looks seamless and professional. Remember to prioritize safety by keeping your workspace clean and using a stable surface for all your cutting tasks.
If you encounter unexpected challenges, take a step back and re-evaluate your measurements before making any permanent cuts. With these techniques, you are well-equipped to handle any obstructions you might find when installing or updating your ceiling. Feel free to share your own tips or ask further questions about your specific project as you work through your home improvement tasks.