
How Much Clearance Needed Above Drop Ceiling Tiles to Access Shut-Off Valves?
Determining exactly how much clearance needed above drop ceiling tiles to access shut-off valves is a critical step for any facility manager or homeowner planning a renovation. While standard grid systems often sit just a few inches below the joists, plumbing maintenance requires significantly more vertical room to maneuver wrenches and reach manual handles. If you provide too little space, you risk forcing a complete ceiling removal just to address a minor leak.
Understanding the spatial requirements early ensures that your mechanical infrastructure remains serviceable for the life of the building. This article breaks down the technical measurements and practical considerations to help you plan your ceiling layout effectively.
Standard Clearance Requirements for Valve Maintenance

When calculating how much clearance needed above drop ceiling tiles to access shut-off valves, the absolute minimum you should aim for is 12 inches. This measurement allows a technician to place their hands and a standard adjustable wrench into the plenum space to operate a valve. If the valve is a large ball valve or a complex manifold, you may need up to 18 to 24 inches of vertical space.
Always account for the orientation of the valve stem. A valve pointing straight up toward the floor joists requires more overhead clearance than a valve mounted horizontally.
If you are working in a tight commercial plenum, remember that the grid itself consumes depth. You must measure from the top of the ceiling tile to the underside of the structural deck or obstruction above.
The Role of Grid Systems in Accessibility
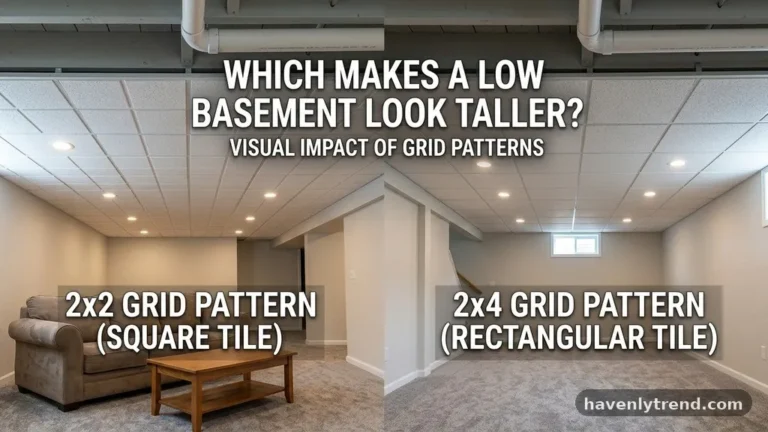
The grid system—composed of main tees and cross tees—is the primary obstacle when accessing plumbing hidden above. Standard suspended ceilings use a 2-foot by 4-foot or 2-foot by 2-foot grid pattern, which dictates where you can physically reach through. If a shut-off valve is positioned directly above a main tee, you will have to cut or remove the grid component to reach the pipe.
Strategic layout planning involves placing valves directly in the center of a ceiling tile bay. This configuration allows you to simply lift the panel out of the way without disturbing the structural integrity of the grid.
If you are retrofitting, try to adjust your tile layout so that the most critical shut-off valves fall within these open bays. This prevents the need for destructive maintenance practices that could damage your ceiling finish.
Calculating Vertical Space for Mechanical Components

Beyond just the valve handle, you must account for the piping diameter and any surrounding insulation. Pipes are often suspended from the structure above using threaded rods or hangers, which take up their own vertical footprint. If your plumbing layout is dense, the total clearance needed above the drop ceiling tiles might increase to accommodate the pipe routing itself.
Consider the following table when evaluating your specific room constraints:
| Valve Type | Minimum Vertical Clearance | Optimal Clearance |
|---|---|---|
| Standard Ball Valve | 12 inches | 18 inches |
| Gate Valve | 15 inches | 20 inches |
| Manifold Assembly | 18 inches | 24 inches |
| Pressure Reducing Valve | 20 inches | 30 inches |
Planning for Future Repairs and Inspections
Maintenance is not a one-time event, so you should design your ceiling with a long-term perspective. If you find that the space above your tiles is consistently cramped, consider installing an access door. These pre-fabricated frames integrate into the ceiling grid and provide a hinged door for quick entry.
Using an access door is far superior to pushing up tiles repeatedly, which often leads to chipped edges or dirty panels. You can find detailed specifications for these components through the National Institute of Building Sciences, which maintains standards for building enclosure and maintenance access. Investing in these features upfront saves significant labor costs during future plumbing emergencies.
Tools and Reach Requirements
The type of tool required to operate a shut-off valve dictates the clearance. A standard 10-inch pipe wrench requires a significant arc to rotate, meaning you need more than just space for your hand. If the valve is stiff or corroded, you will need even more room to exert leverage.
If your ceiling height is strictly limited, consider using extended-handle valve keys or specialized ratcheting tools. These can reduce the required clearance by allowing you to operate the valve from a different angle. However, relying on specialized tools is a secondary solution; providing adequate physical space is always the preferred approach.
Dealing with Obstructions in the Plenum

The plenum space—the area between the structural ceiling and the drop ceiling—is rarely empty. It often contains HVAC ducts, electrical conduits, and fire suppression pipes that compete for space. These obstructions can force your plumbing to be installed at an awkward height.
When you encounter these conflicts, prioritize the shut-off valve location. It is better to have a slightly lower ceiling in a small hallway than to have a valve that is impossible to reach. Communicate with your mechanical contractor early to ensure that the plumbing is not buried behind heavy ductwork.
The Impact of Ceiling Tile Materials
The type of tile you choose affects how often you can safely remove them. Mineral fiber tiles are brittle and prone to breakage if handled frequently. If you know you will need regular access to a specific valve, consider using metal or high-density composite panels in that section.
These materials stand up to repeated lifting and sliding much better than standard acoustic tiles. They also prevent the “white dust” that often falls when you disturb mineral fiber panels. Creating a “maintenance zone” with durable tiles is a smart way to protect the visual appeal of your room.
Safety Considerations for Working Above Ceilings

Safety is paramount when reaching into a dark, cramped space above a suspended ceiling. You must be aware of hidden electrical wiring that could be damaged or cause a shock. Always ensure the area is well-lit before reaching in; a simple LED headlamp is an essential tool for this work.
Furthermore, ensure that your ladder is stable and positioned on level ground. Reaching into a ceiling requires you to look upward, which can affect your balance. If the valve is located in a high-traffic area, place signage to prevent people from walking under your work zone.
Integrating Access Points into the Design
If you are currently in the design phase, you have the luxury of mapping your valves to your ceiling grid. Use a color-coded marking system on your ceiling plan to identify where every shut-off valve is located. This prevents the “guessing game” that often occurs when a pipe bursts and you need to find the right shut-off quickly.
You can even label the specific ceiling tiles that provide access to the valves. A small, unobtrusive sticker or a specific tile pattern can guide maintenance staff directly to the correct spot. This level of detail reduces the time spent troubleshooting during a crisis.
Assessing the Total Cost of Accessibility
Lowering a ceiling to create more clearance involves higher material costs, including longer hanger wires and more vertical wall molding. However, this is usually offset by lower long-term maintenance costs. If a plumber has to spend three hours just to reach a valve, those labor hours add up quickly.
Compare the cost of a slightly lower ceiling design against the potential for high-cost emergency service calls. In most cases, the initial investment in a accessible ceiling design pays for itself within the first few major repairs. Focus on the total cost of ownership rather than just the immediate installation budget.
Frequently Asked Questions
Is it possible to install a shut-off valve flush with the ceiling tiles?
It is physically possible, but it is not recommended for maintenance. If the valve handle is flush with the tile, you will have almost no room to grip it or use a wrench. It is much better to install the valve at least 6 to 12 inches above the tile line.
Do I need an access panel if I have a drop ceiling?
You do not strictly need a framed access panel if the ceiling tiles are easily removable. However, if the tiles are clipped down or glued, or if you are using a permanent ceiling system, an access door is absolutely necessary. It provides a clean, professional way to reach the valves without damaging the surrounding finish.
What is the best way to mark which tile hides a valve?
Small, colored magnetic indicators or subtle adhesive dots are excellent for this purpose. You should also keep a “ceiling map” in your electrical or mechanical room. This ensures that anyone, even someone unfamiliar with the building, can locate the correct valve in an emergency.
Can I move my plumbing to make it easier to reach?
Yes, you can often relocate plumbing lines during a renovation or a major repair. If you find that your current valves are in a difficult spot, talk to a licensed plumber about extending the lines to a more accessible area. This is often worth the expense if it prevents future maintenance headaches.
What if I have zero clearance above my drop ceiling?
If you have zero clearance, you cannot access the valves from above. In this scenario, you must install an access door in the wall adjacent to the valve or lower the entire ceiling section. Do not attempt to force a valve operation through a tiny gap, as you may break the pipe and cause a significant water leak.
Conclusion
Establishing the right amount of clearance is the secret to a functional and low-stress building environment. By ensuring you have at least 12 to 18 inches of vertical space, you provide the flexibility needed for routine maintenance and emergency repairs. Remember that the layout of your grid, the choice of durable ceiling materials, and the use of clear labeling all contribute to a system that remains serviceable for years.
When you prioritize access during the initial installation or renovation phase, you protect your property and simplify the work for anyone responsible for the building’s infrastructure. If you have questions about your specific room layout, consult with a licensed contractor to ensure your plan meets all local building codes and safety requirements.